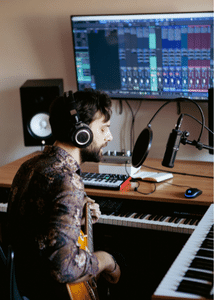
Setting up a home recording studio isn’t as straightforward as you might think.
There is tons of equipment available, and they all have different qualities when it comes to performance.
Depending on what kind of music you’re making, some equipment may be unnecessary, while some gear might be crucial.
Today’s blog post will cover six items you should consider buying before starting your music production career.
Let’s dive right in!
1- DAW – Digital Audio Workstation
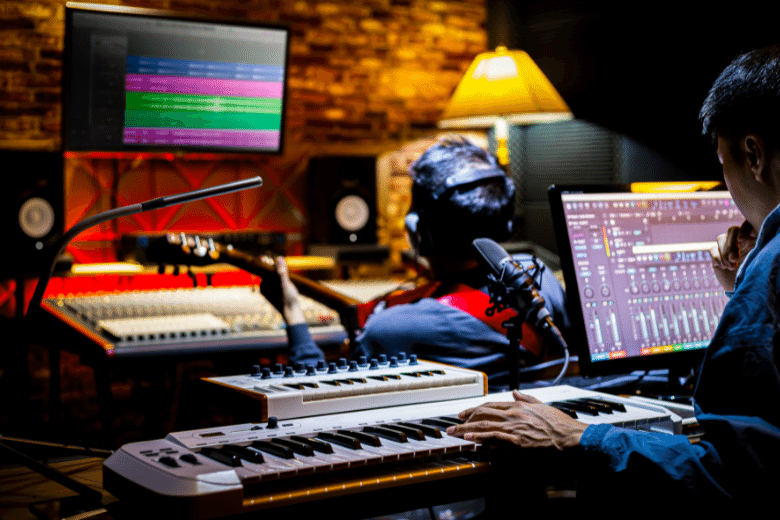
A DAW (Digital Audio Workstation) is the heart of both professional recording studios and home studio setups.
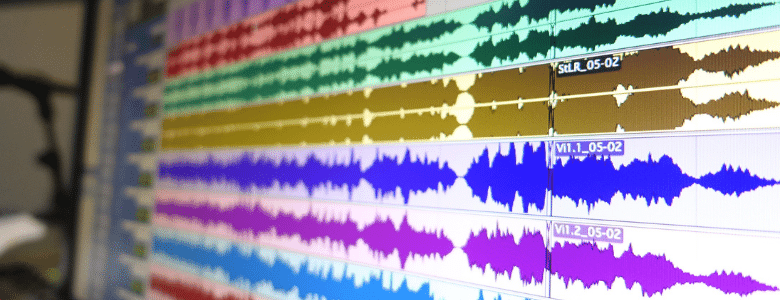
It’s a piece of software that lets you record, edit, mix and master your tracks. In addition, it allows you to record live audio or virtual instruments (VSTs).
Every digital audio workstation that you encounter will be confusing at first sight.
Every manufacturer puts buttons in different places, and all DAWs have a variety of additional features and capabilities. But, don’t worry; after a while, you’ll notice that most DAWs are built the same way, and it becomes more of a fight to remember all the keyboard shortcuts rather than figuring out how they work.
The features they all share are tracks, transport controls, a sequencer, a sample browser, timing, and bars.
There are many DAWs available, and even if there are some outliers, they pretty much do the same thing. FL Studio, Pro Tools, Logic Pro, and Ableton Live are the best-known digital audio workstations.
So which one should you choose?
Ableton is probably the best choice if you’re into live performances, while Logic Pro and Pro Tools are most suitable for editing and mixing. FL Studio is the most user-friendly, and Image-line has created a huge community of producers worldwide.
Most developers offer a limited free trial period. If you’re unsure which premium DAW to choose, I recommend you try each of them out before making the full purchase.
Some free DAWs are available such as Garageband, Ableton Live Lite, Tracktion Waveform Free, and Pro Tools First. Note that some of the free options are slimmed-down versions of paid software.
2- MIDI Controllers
MIDI controllers truly open up the capabilities within your DAW. MIDI stands for musical instrument digital interface and translates MIDI data to compatible sound libraries or synthesizers.
Most MIDI controllers don’t make sounds on their own. Instead, they send the MIDI data to a compatible software like a plugin or a VST that generates the sound.
You can play thousands of sounds at the tip of your fingers without using the built-in piano roll in your DAW.
It’s fair to say that a MIDI controller unleashes your creativity. It makes creating music on a computer much more enjoyable, and the workflow is way faster than using a mouse and keyboard.
It’s pretty straightforward to start using a MIDI controller. Most of them connect to your computer via a USB cable, without the need for a third-party interface.
If you have a DAW installed, it will, in most cases, instantly recognize the MIDI input from your controller. If not, head over to “MIDI preferences” (naming can vary between different DAWs) and select your MIDI controller from the list.
If you can’t find your controller, you might have to install some additional driver software. Check the documentation that came with the device or your manufacturer’s website for more information.
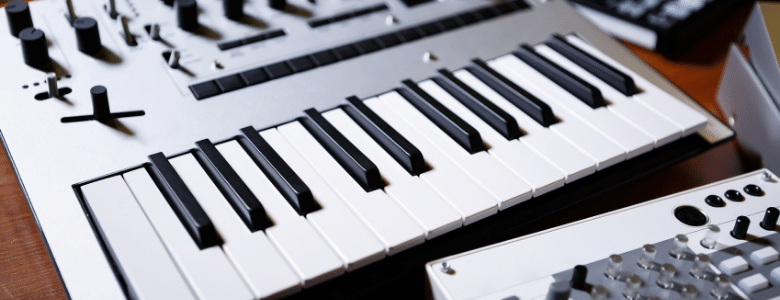
Most MIDI controllers come in the form of a keyboard. There are tons of options available, and you should pick one equipped with faders, pitch controls, knobs, and drum pads.
They also come in sizes, ranging from 25 keys to 88 keys. Most MIDI keyboards have synth-action keys, meaning they have a plastic construction and use springs rather than weights to return the key to its initial position.
Many EDM producers prefer the feel and playability that synth-action keys offer. On the other hand, if you’re a pianist, you will probably like keys with hammer-action or semi-weighted action. The closest you can get to a piano with MIDI functionality is to buy an 88-key weighted keyboard.
3- Audio Interface
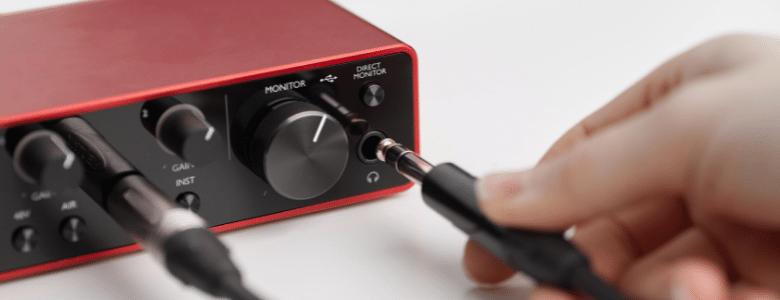
The Audio Interface is the brain of your home studio setup.
The interface handles the heavy signal processing that goes on when analog audio is being processed to the digital realm in your DAW.
It’s also where you connect the playback system such as your headphones or studio monitors.
Although your computer has a built-in sound card, producers need an audio interface that can handle the heavy signal processing when you record, edit, and mix your songs. Without an interface, you will experience delays and drops in sound quality.
Imagine singing and hearing your voice in your playback system a second later. Since sound cards are less powerful than audio interfaces, it takes time for the incoming signal to get processed and sent back. Sure, latency always occurs, but it’s barely noticeable on audio interfaces.
Let’s say you want to record yourself singing and playing guitar. You’ve found the line-in jack and microphone jack. But unfortunately, built-in sound cards only allow you to record one input at a time.
Another huge benefit of standalone audio interfaces is that they offer better mic preamps than sound cards. As a result, the preamp on your audio interface can boost the incoming signal to a usable level without adding distortion or noise.
There are many interfaces available, and the most basic have USB connectivity. However, if you have more money to spend and want even more performance, consider a Thunderbolt or Firewire connectivity interface.
Note that you might not need an audio interface if you own a decent USB microphone and only plan to record one channel at a time.
4- Microphones
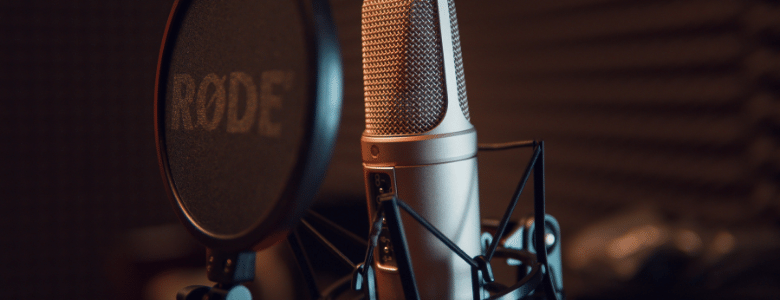
If you’re planning to start recording from your home studio, a microphone is a crucial piece of equipment.
Unfortunately, different microphones come in so many varying shapes, sizes, and features, and each is best suited for a particular recording style and environment.
There are two types of microphones commonly associated with home studios:
- Dynamic microphones
- Condenser microphones
Due to the rougher sound characteristics, dynamic microphones might remove some nuances and high frequencies from your recordings. However, this is usually not an issue, and they’re still well-suited for interviews, podcasting, and live performances where you don’t need an accurate and smooth reproduction of sound.
Dynamic microphones have low sensitivity and a higher gain threshold. The way they’re built makes them ideal when you’re dealing with strong signals and don’t want to risk ending up blowing out the capsule.
Because of the high gain threshold, you’ll often find dynamic microphones on-stage or during live performances. But that’s not the only use case.
Dynamic microphones are also great studio mics when recording drums, amplifiers, or strong vocals (pretty much anything that’s loud).
Still, the most common choice for recording vocals is a large-diaphragm condenser microphone.
It would help if you also considered a cardioid microphone as they reject sounds from the back and sides thanks to the unidirectional pick-up pattern.
A condenser microphone is also the ideal choice when recording acoustic guitars.
Dynamic microphones have a much better tolerance for loud instruments. Therefore, you should consider a dynamic microphone to record dynamic, aggressive, and high-volume sounds like drums, horns, or electric guitar amps. If not, choose the more delicate option of a condenser microphone for your home studio.
5- Studio Monitors/Headphones
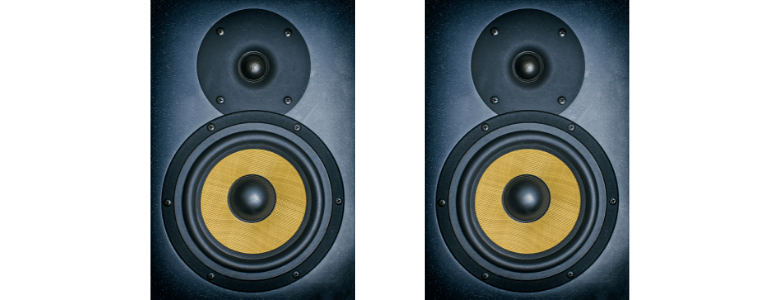
If you want to take mixing seriously, you need a pair of studio monitors.
Why? Unlike consumer-grade HiFi speakers designed to sweeten the sound, a pair of monitors give you an accurate representation of whatever you’re listening to.
Monitors have a wide flat frequency response, and they are built for short distances. The flat frequency response makes it easier to identify flaws in your audio mix and correct them.
If you’re mixing with a pair of HiFi speakers, you’ll probably notice that your track sounds dull and lifeless outside the studio. Luckily you don’t have to break the bank to get some studio monitors that you can rely on.
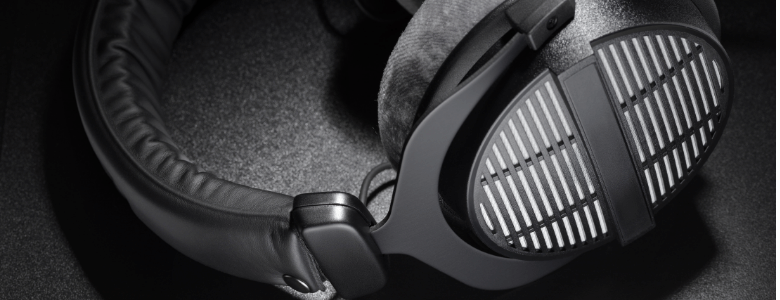
Another important item is studio headphones. Like monitors, studio headphones are designed to give you an accurate portrayal of the signal they are being fed.
A decent pair of studio headphones also have proper isolation. So why is this important? When you’re wearing headphones, the sound should not leak out into the recording space. A hot mic could pick this up, and it can be a real pain to deal with.
Note that this is extra important if you record live instruments. For example, if you produce your track with pre-recorded sources such as beats, loops, synths, and samples, you could use open-back headphones, which don’t offer the same isolation as closed-back.
6- Consumer-Grade Headphones and Speakers
You probably own consumer-grade headphones and speakers already.
Whether it’s a pair of earbuds, HiFi speakers, laptop speakers, a car sound system, or a Bluetooth speaker, they all play an important role when it comes to finalizing your track.
Remember, 99% of all music is NOT played through studio monitors or studio headphones where there is an accurate portrayal of all the frequencies.
That’s why it’s crucial to make sure that your track sounds professional outside of a controlled studio environment.
Many professional recording studios have reference monitors that simulate the sound from “normal” speakers.
It’s also a good idea to listen to your tracks in different environments. Remember, there are different acoustics in every room in your house. So when you’re done mixing, your song should sound professional in both the bathroom, living room, and kitchen!
Conclusion
Building a home recording studio doesn’t have to cost a fortune.
You will be amazed at how much you can do with very few items. Sure, buying a new instrument, equipment, and software is fun, but you should always start small and scale if you’re a beginner.
Experiment and learn the ins and outs of every piece of gear you own. Then, when you’ve reached the limit of your current setup, you can start thinking of how you can upgrade.
These six items are essential and a great starting point. However, if you want to further upgrade your setup, you should consider the following items:
- Studio Desk
- Microphone Preamp
- Control Surface
- Bass Traps
- Acoustic Panels
- Diffusers
- Reflection Filters
- Monitor Isolation Pads
- Studio Monitor Stands
I hope you enjoyed today’s blog post. Until next time!
This post was written by Martin Kristiansen of Home Studio Ideas. If you need expert advice when consider all things ‘home studio’. Give them a look @ homestudioideas.com